Holiday Home Tour London Ontario 2016

Ahhhh! I cannot believe December 1st is already here! I'm SO excited to share with you my holiday home and see what you think! Some parts of my home I've been working on for months to get ready for today's tour, while others I was finishing up details just yesterday afternoon. 🙂
I feel so lucky and honored to be participating in Jennifer Rizzo's Holiday Housewalk sponsored by Wayfair. Last year I submitted my tour to her link party and subsequently was invited to this year's blog hop. It feels unreal, as I have been following Jen's Holiday Housewalk since her early years of hosting it, before I was even blogging myself. Make sure you click this button to be directed to day 1 of the tours so you can see all the houses in order! 😉

If you have already been seeing the tours in order, then you know I am stop 22 and HELLO! WELCOME JUST DESTINY READERS! I loved her kitchen so much! Especially the baking station. If you found me through some other means, HELLO! WELCOME! 😉

Glad you are here! I hope you are having fun seeing these tours and enjoy some Christmas inspiration BUT REMEMBER– DON'T COMPARE! My goodness my house is such a work in progress, but it takes a significant amount of time and hard work to getting looking this good (for me anyways). 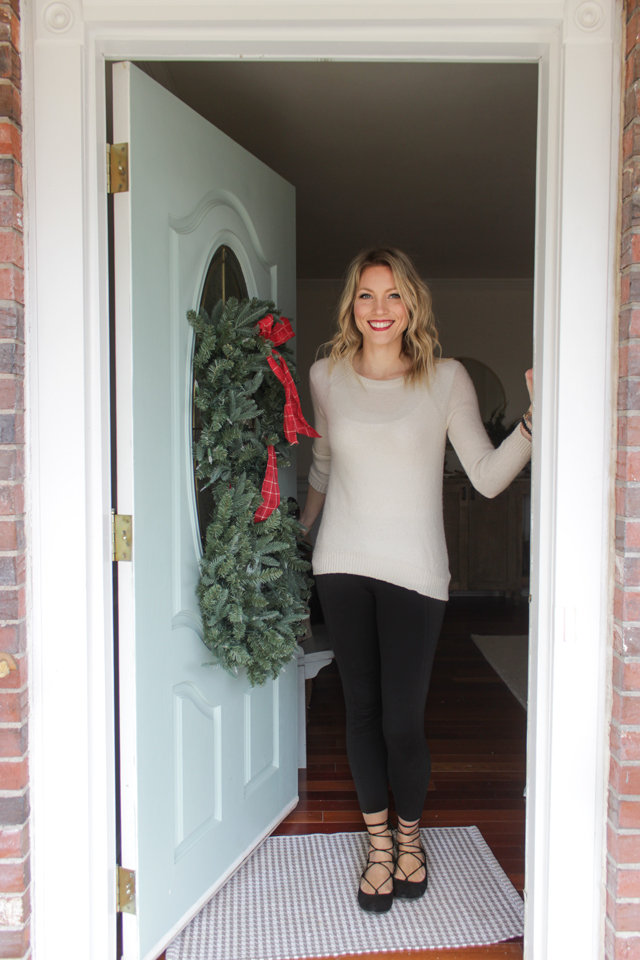
The first thing you encounter when walking into our small ranch-style home is our entry bench. I am obsessed with a cutely styled entry bench and I have an whole Pinterest board dedicated to them. The only problem is that puts a lot of pressure on myself to decorate mine 'good enough'. Yes I play the comparison game–with myself. 😉
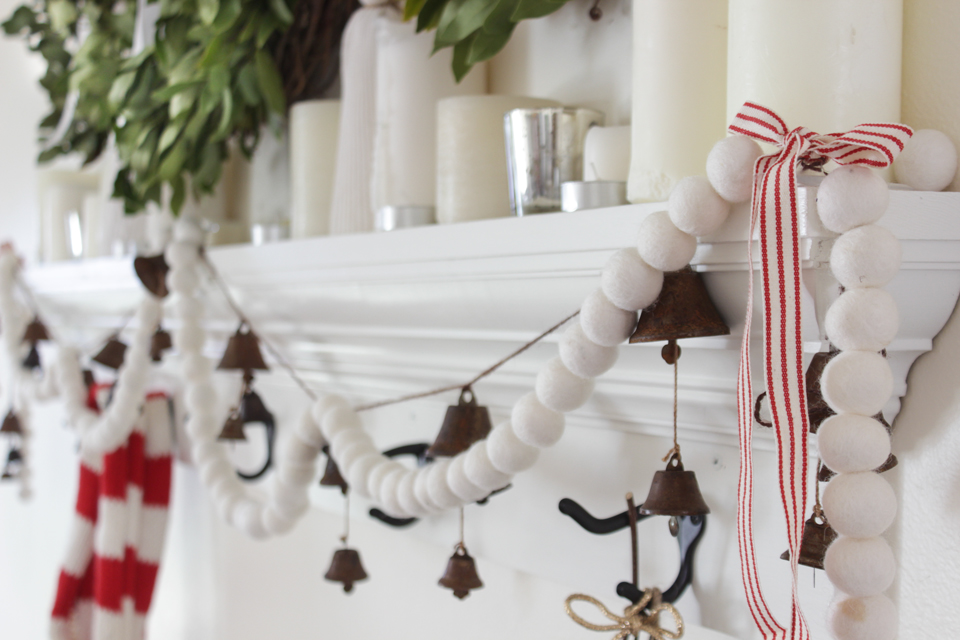
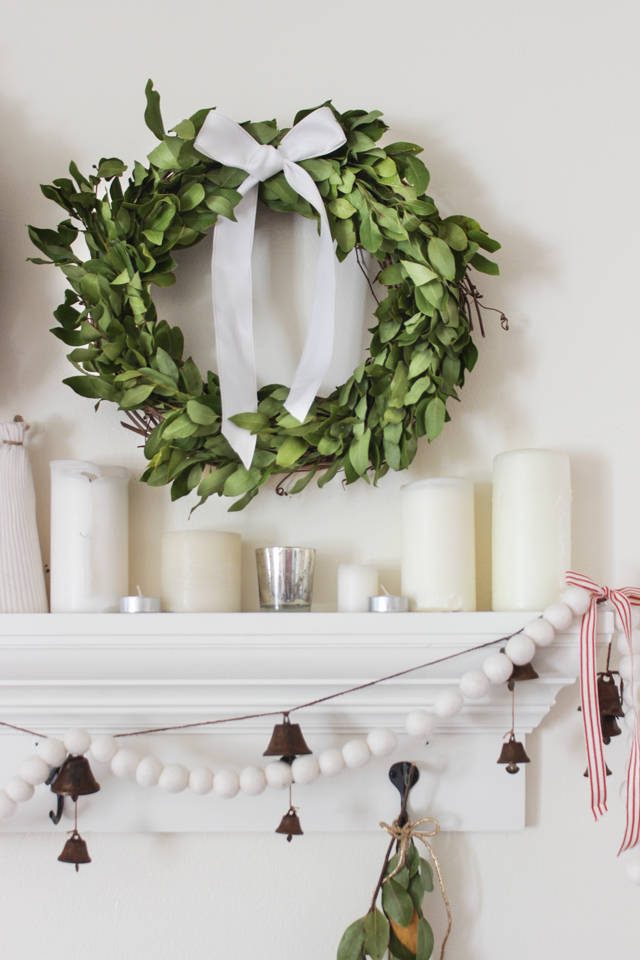
So this year I've had a love affair with fresh bay leaves, in case you hadn't noticed from my Christmas tablescape post… So I decided to make 3 wreaths from the fresh bay leaves and hang them above my DIY entry shelf with hooks. I put a bunch of monochromatic candles below it and strung some garlands of felt balls and little bells below.
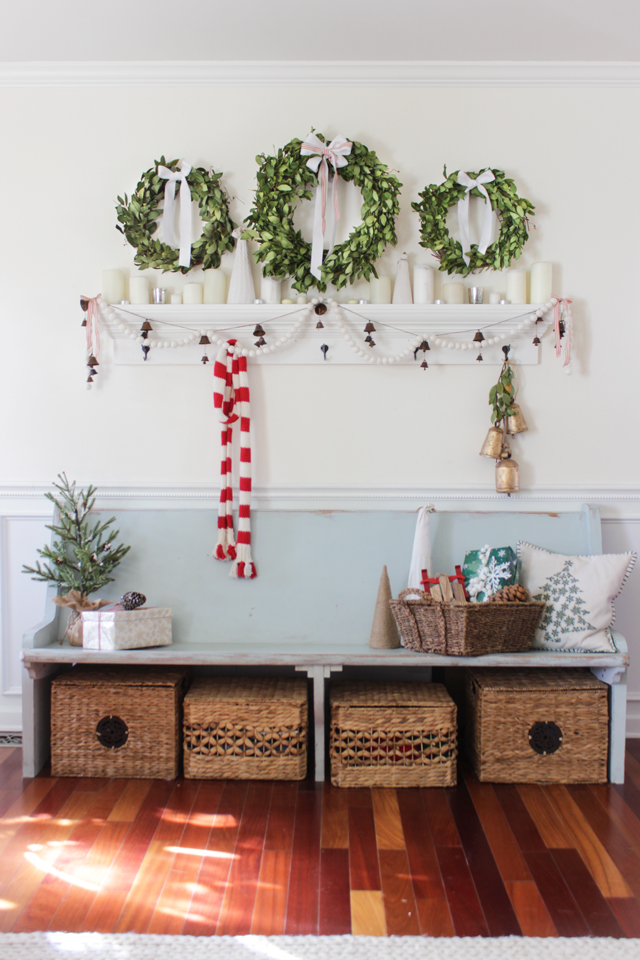

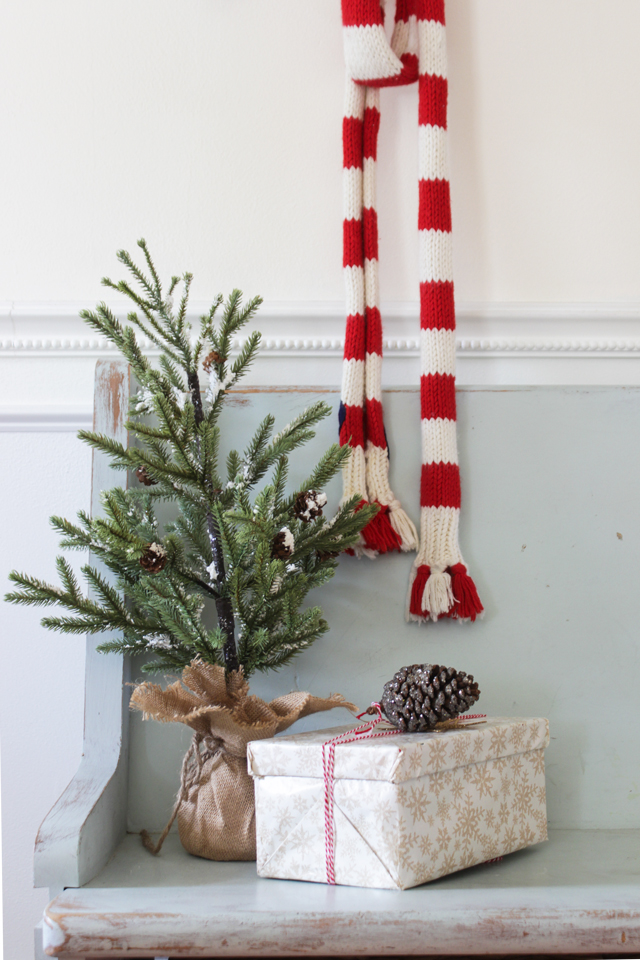
The little tree is from Micheals, the white felt balls are from Hello Maypole, and the bell garland is from a local floral wholesaler.
If you want fresh bay leaves, check with your local florist– if they don't have any they will likely be able to get some for you, as most wholesalers carry it.
Once you have hung up your jacket, you turn and see the rest of the room!
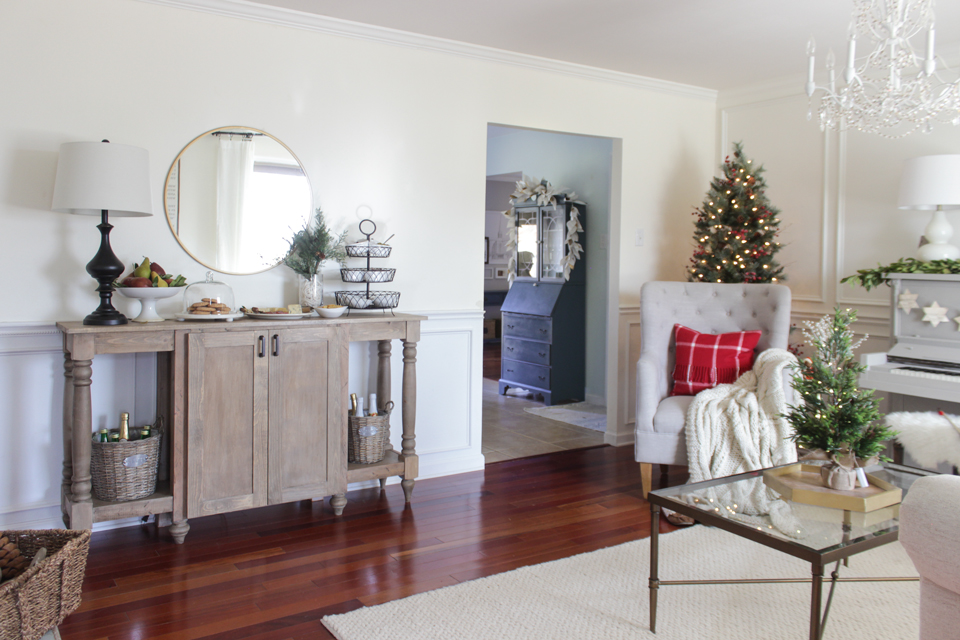
See that buffet on the left there? I built it. 🙂 I'm so proud of this one. I dreamed up the design a couple months ago, and even though it took me a bit to get all the materials I wanted and actually MAKE it, it is everything I hoped for. Build plans can be found HERE.
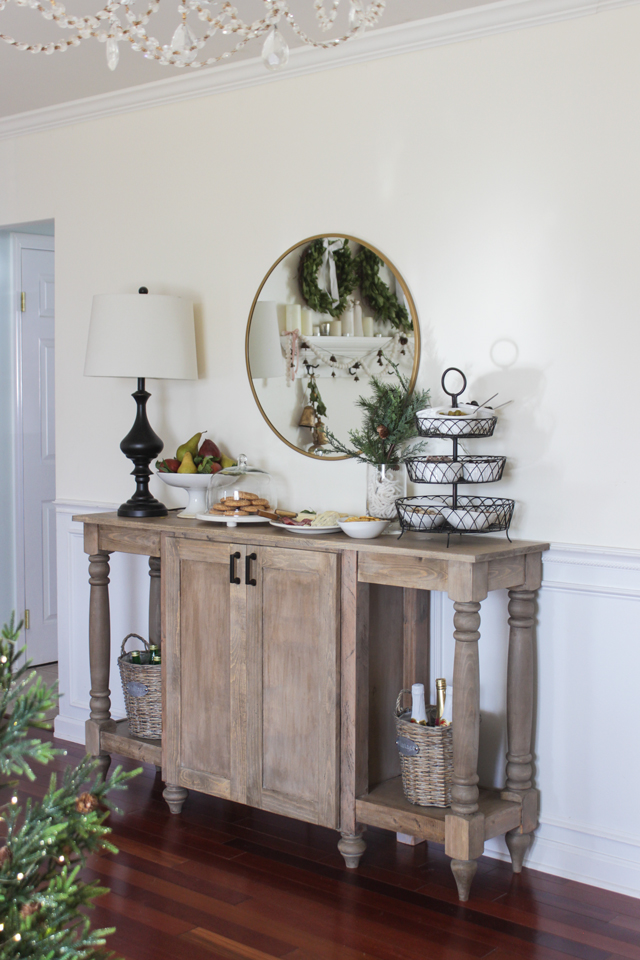
It is pretty tall (3 ft) and quite long (5 ft) with 2 shelves of storage inside those doors, so it even could be used as a media cabinet. It is only 15″ wide though, so it's perfect for places where you don't have a lot of walking space.
I set it up with little munchies and snacks– we had it like this for Thanksgiving last week and it was so perfect! Since our dining room have room for a buffet in our eat-in kitchen, this expands the area… so people can serve themselves a little something while mingling before the meal is served.
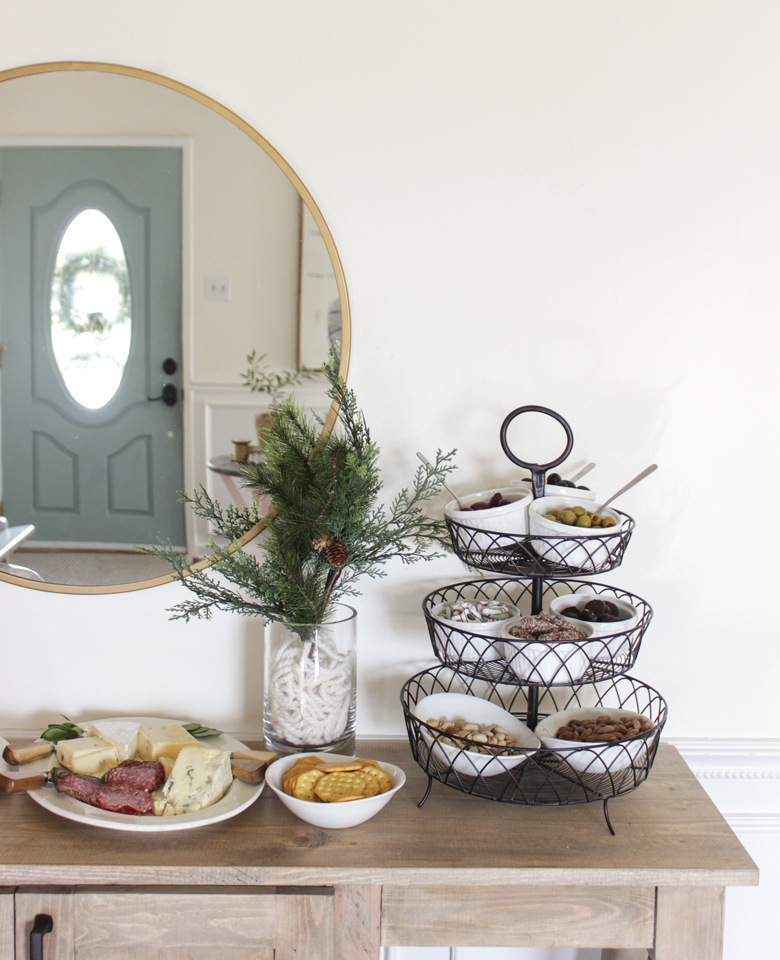
I filled this tiered tray with olives, nuts, some chocolates…

…crackers, some cheese varieties, salami, cookies…
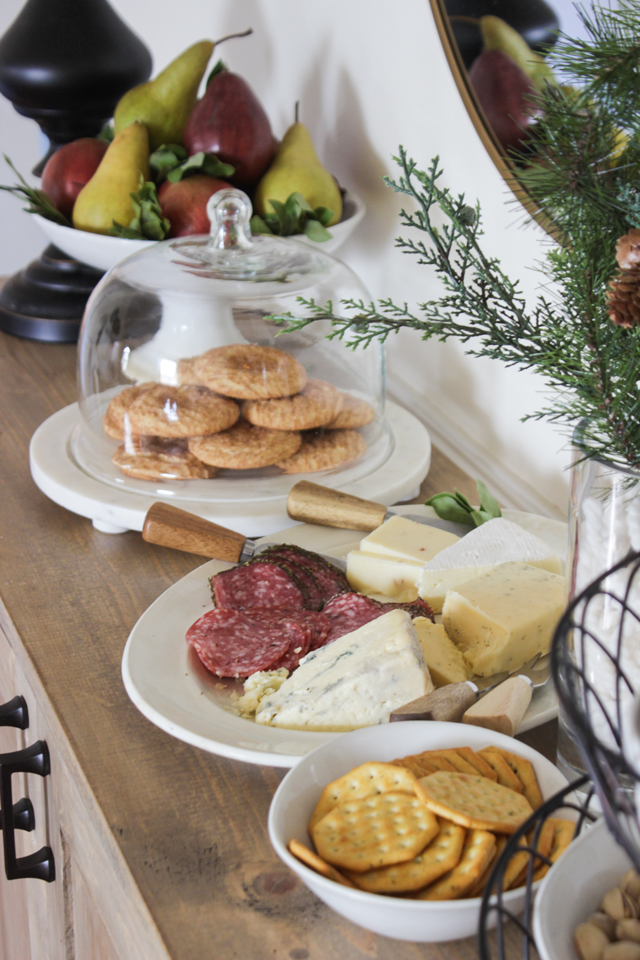
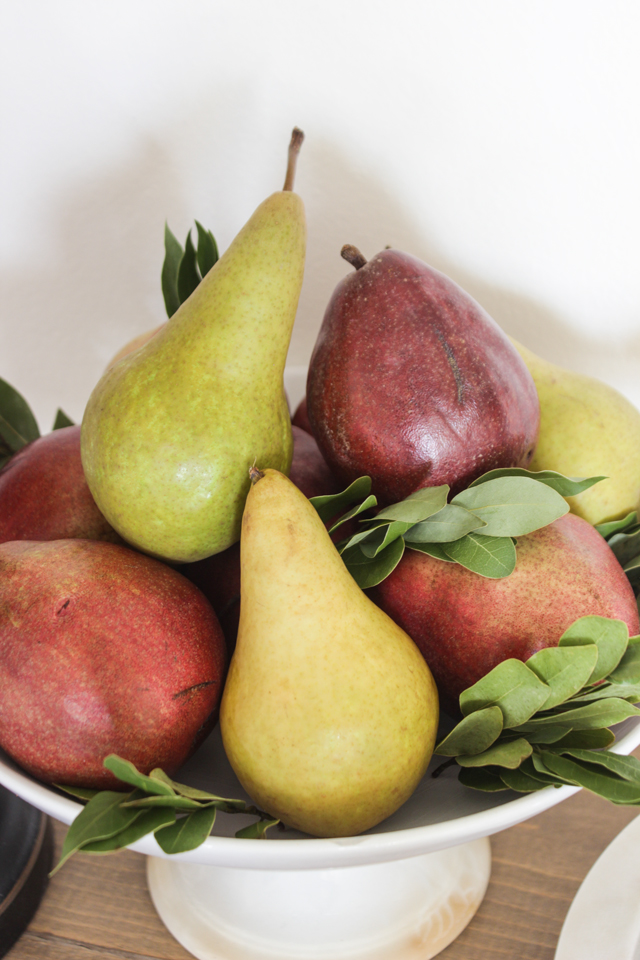
… and a pretty bowl of pears.
Just to the right of the buffet is this cozy little corner with a new 6′ Frosted Berry Pine Tree we got from Wayfair. I ended up stacking it on top of a few paint cans to give it some extra height and just hid all that with a plaid throw. It is the perfect size if you want a skinny thing that just tucks in a corner. It came pre-lit, frosted and with little berries and pinecones it it, so I didn't do anything else to adorn it. I love it.
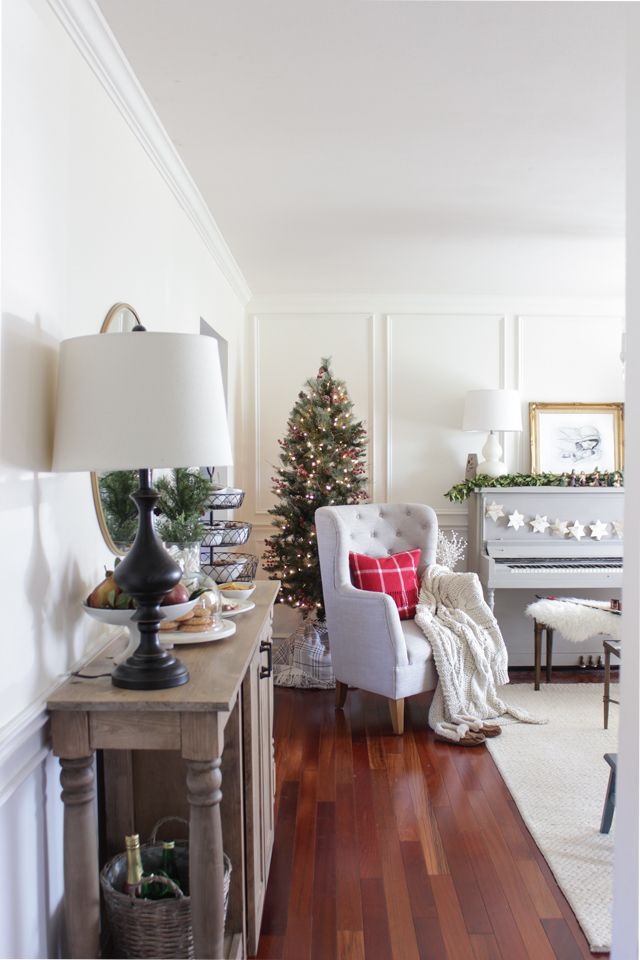
I recently bought this wing chair after searching FOREVER– I looked at HomeGoods, Marshalls, and finally got lucky at TJ Maxx. I used to have two small parlor chairs apposite the couch and it just didn't feel right– no one ever wanted to sit in those little chairs (they weren't that comfy) and they were always in the way. The position of this wing chair allows a more open flow, but is still conversational since it is slightly turned toward the sofa.

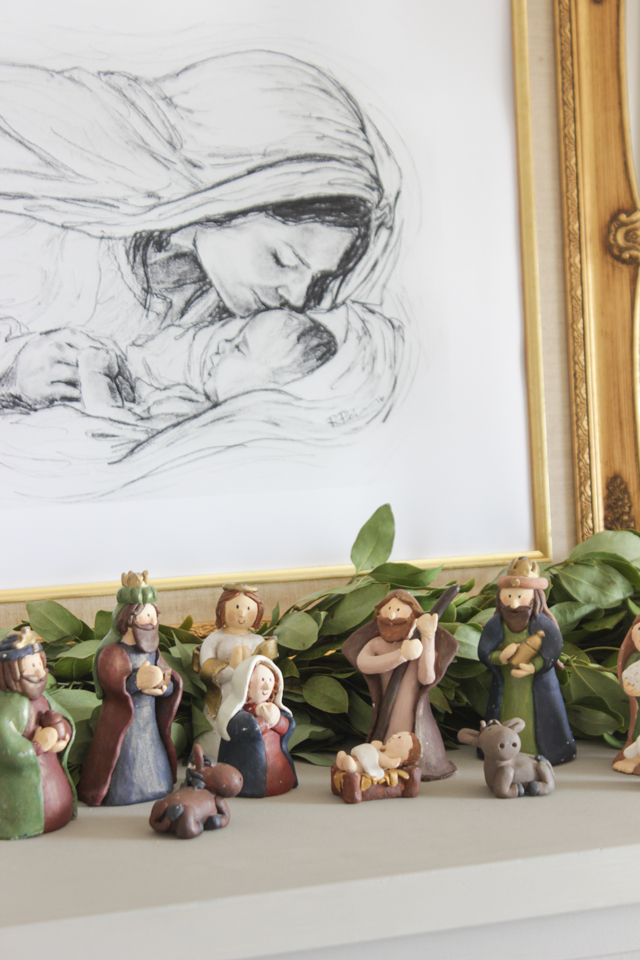
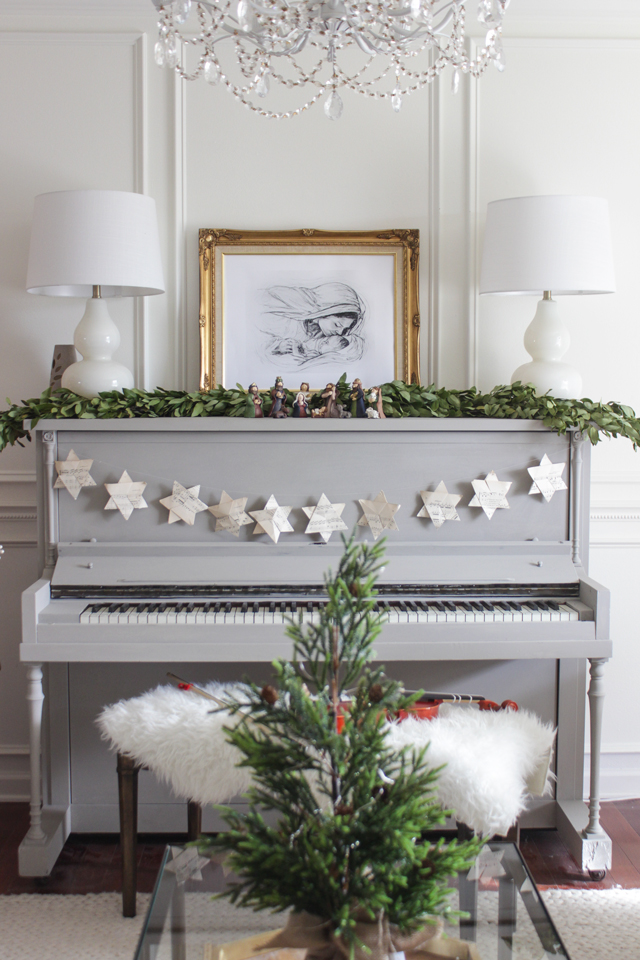
The Navity drawing on my piano is something I drew and offered as a free printable a few weeks ago. I decided to print it pretty large and was so happy with how well it turned out (considering the original was only about 6″ x 6″). It only cost me about $15 to print on heavy poster paper at OfficeMax.
I put a fresh bay leaf garland I made along the piano in front of the drawing, then placed this little clay nativity set that I made when I was pregnant with my oldest (11 Christmases ago).
My oldest, Owen, has been learning to play the violin for a couple years now. He sits here on this bench, props up his sheet music on the piano and plays almost every day. His music can be heard in every room. 🙂
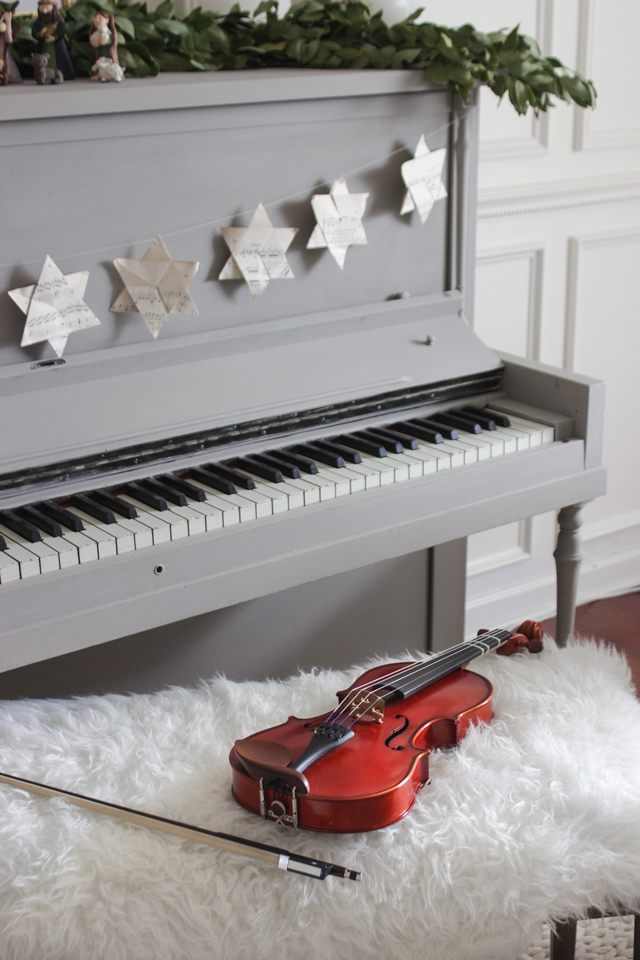
The piano is vintage which I painted earlier this year and the little star garland was made from antique sheet music– tutorial from a few years ago here.
The other thing I got from Wayfair was this glass and metal Porter Coffee Table (out of stock but also found HERE). This is very similar to my original inspiration for this room and was needed once I moved the herringbone coffee table I built into the living room. It is the same size but visually much lighter. The sofa is from Joss & Main. It can also be found here.
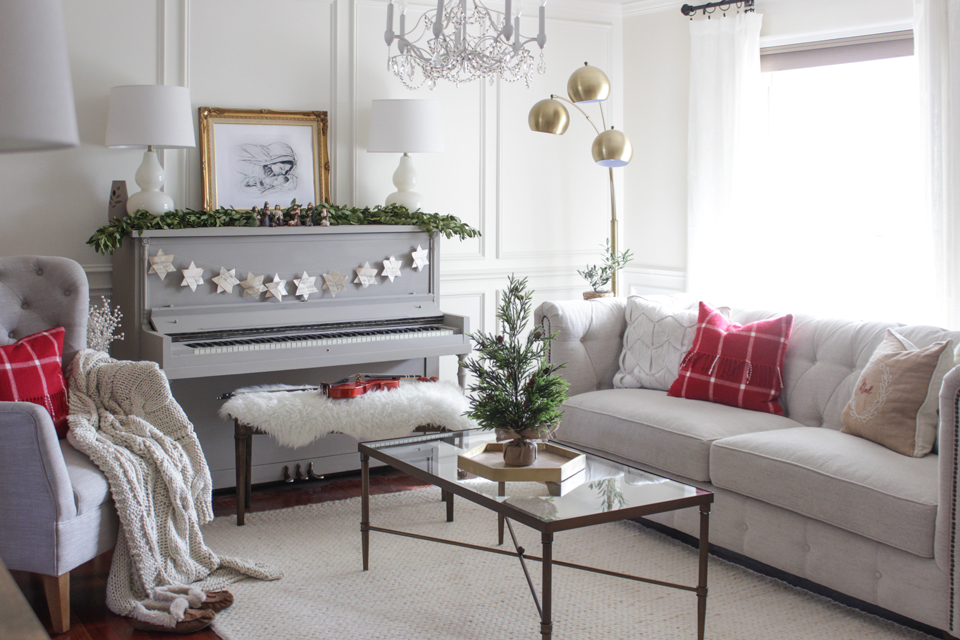
I picked up a couple of little olive plants for either side of the sofa, and I am just smitten with how cute they look on the trestle end tables I built last year.

On to the dining room! Since I went all out with my Christmas tablescape a couple weeks ago, I decided to keep things mostly the same. Instead of using a bunch of fresh bay leaves, I used leather leaf (found at my grocery story flower department), and instead of black and white striped napkins I used some blue ticking ones I had from a couple years ago. I also decided it would be fun to make an individual cake for each place setting.
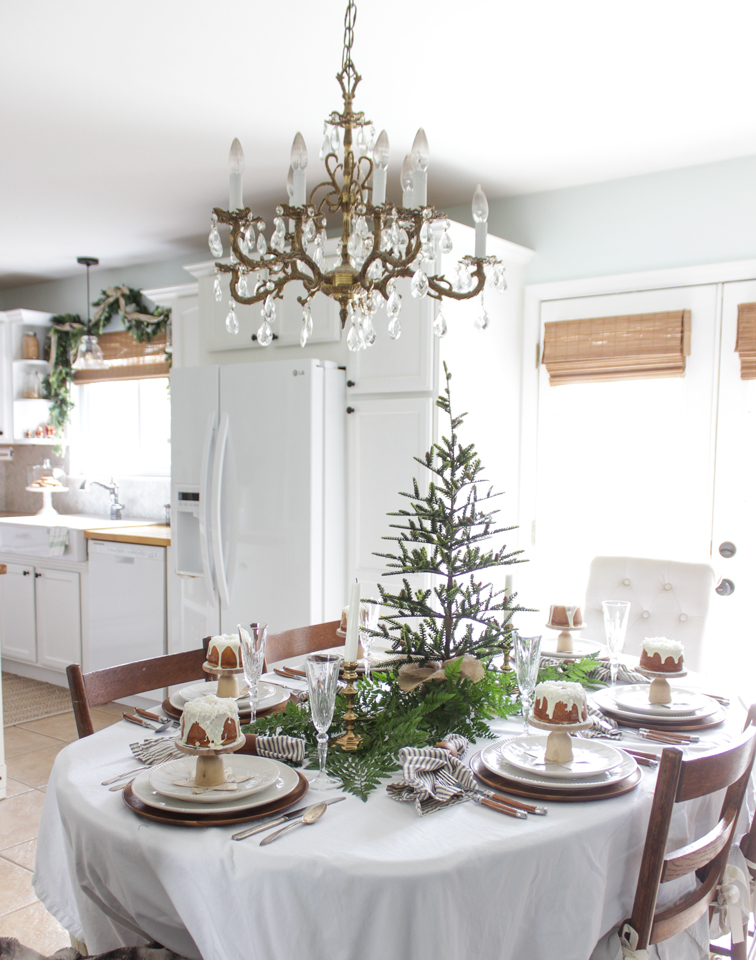
The little mini cake plate stands are something I made, and I can't wait to share the tutorial with you. So so easy.
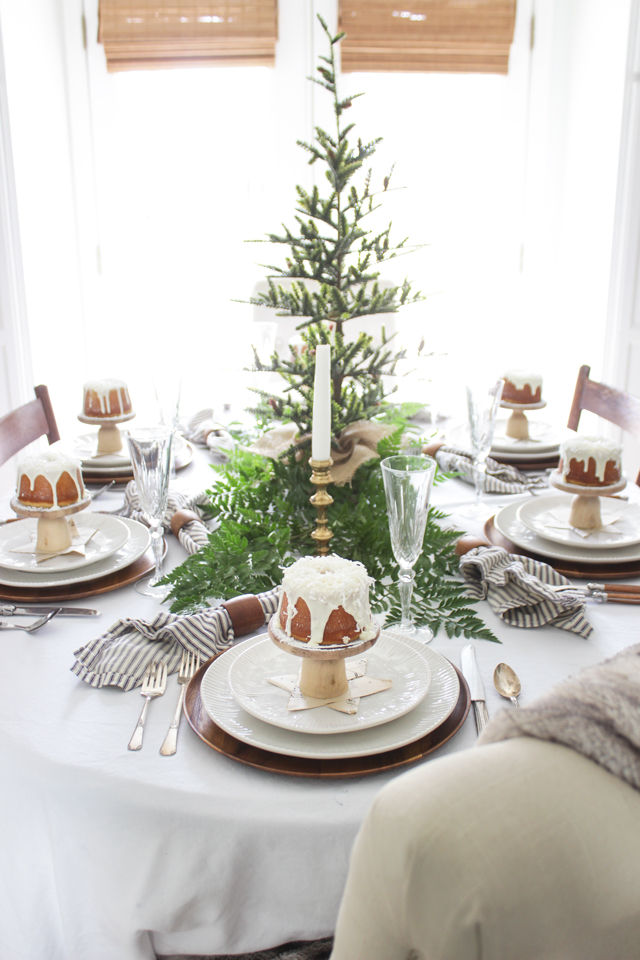
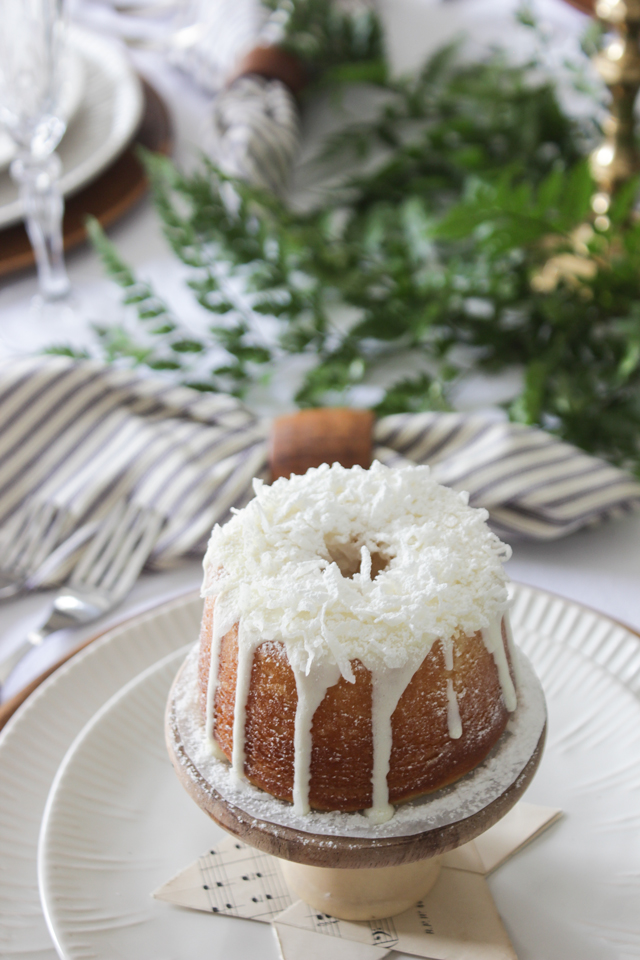
I just used a white cake recipe, drizzled frosting over it, and sprinkled some coconut and powdered sugar on top (to look like snow). Each cake is sitting on top of parchment paper, so when you go to eat it, the cake slides off easily onto the plate.
The dining room isn't it's own room, as you can see. It shares a space with the kitchen.
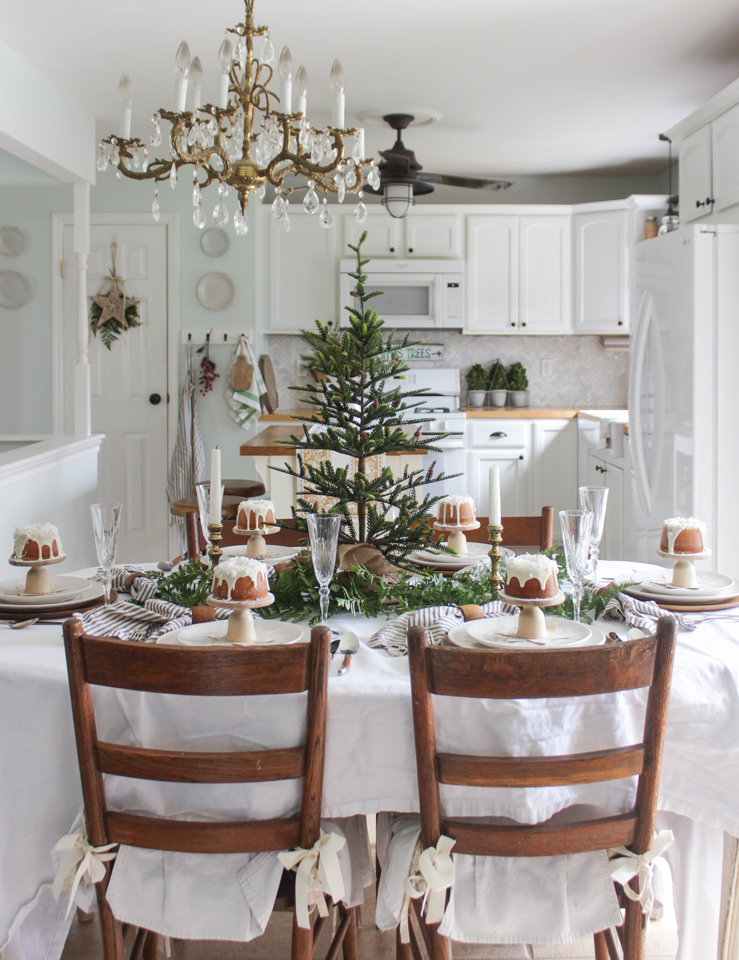
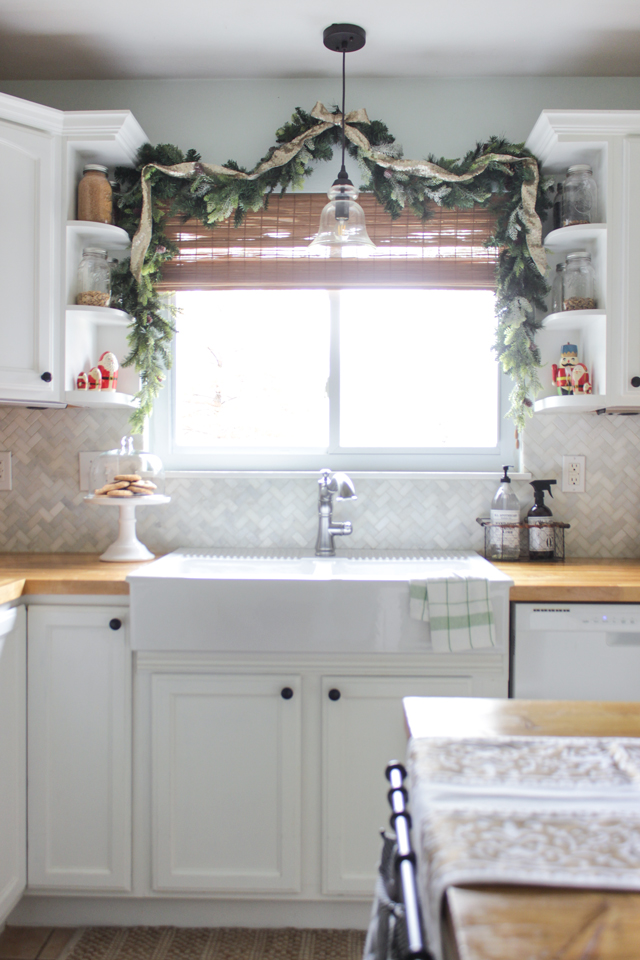
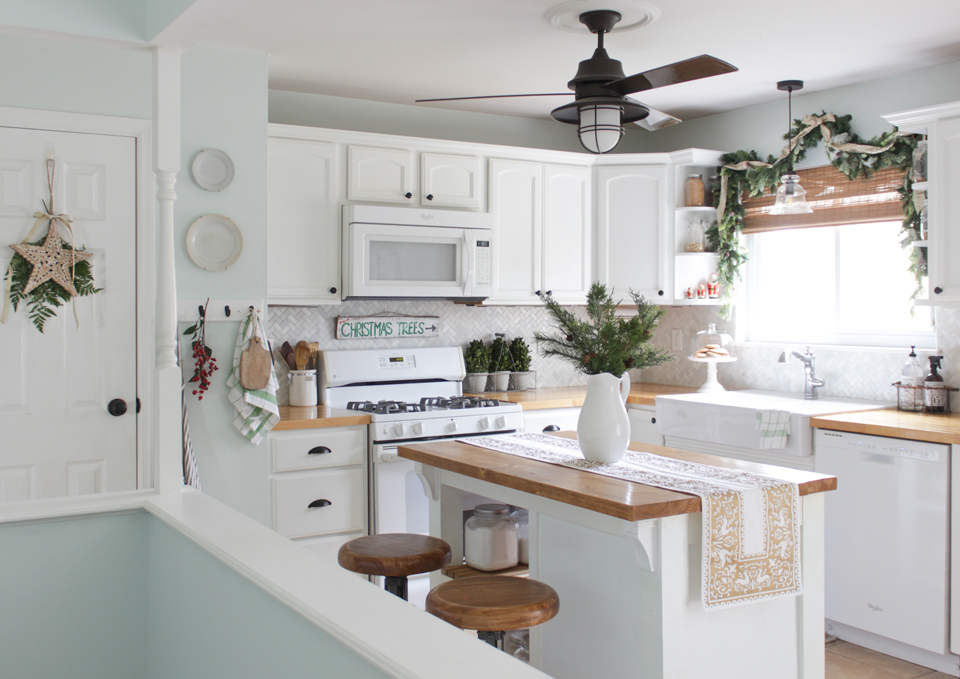
It's crazy to think that just a year ago we were knee deep in the kitchen makeover. I'm so happy with all the choices we made– from marble backsplash tile, to the island that I designed and built.
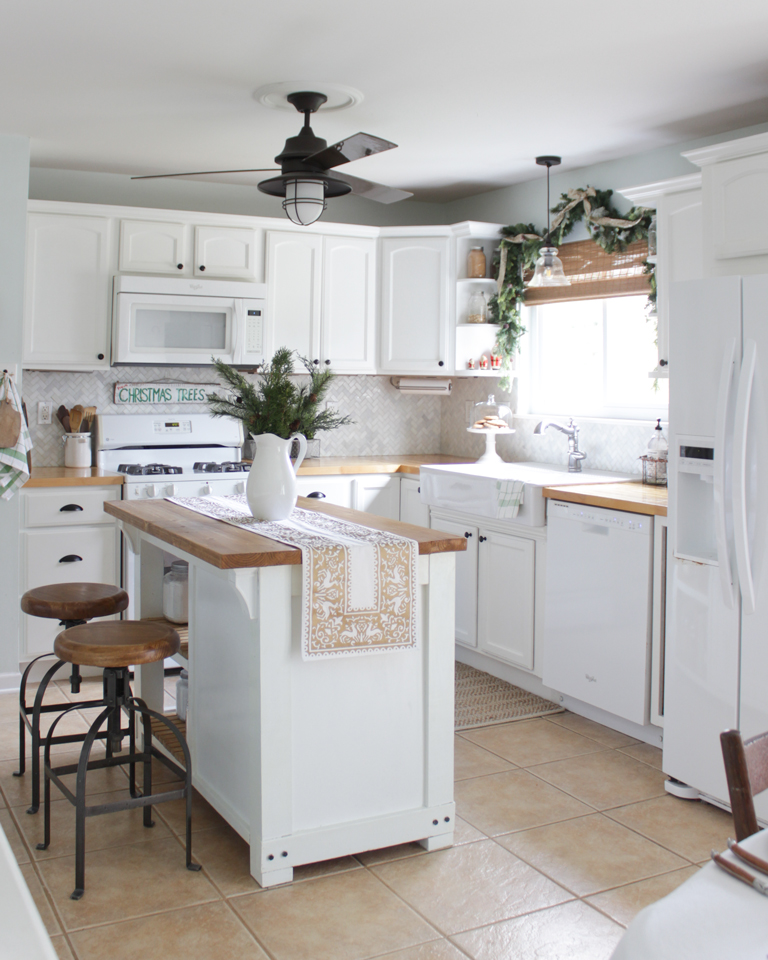
For Christmas decor, I decided to simplify. I removed everything from the counters and made minimal additions that had a bigger impact– like this runner I got at HomeGoods, with little reindeer along it.
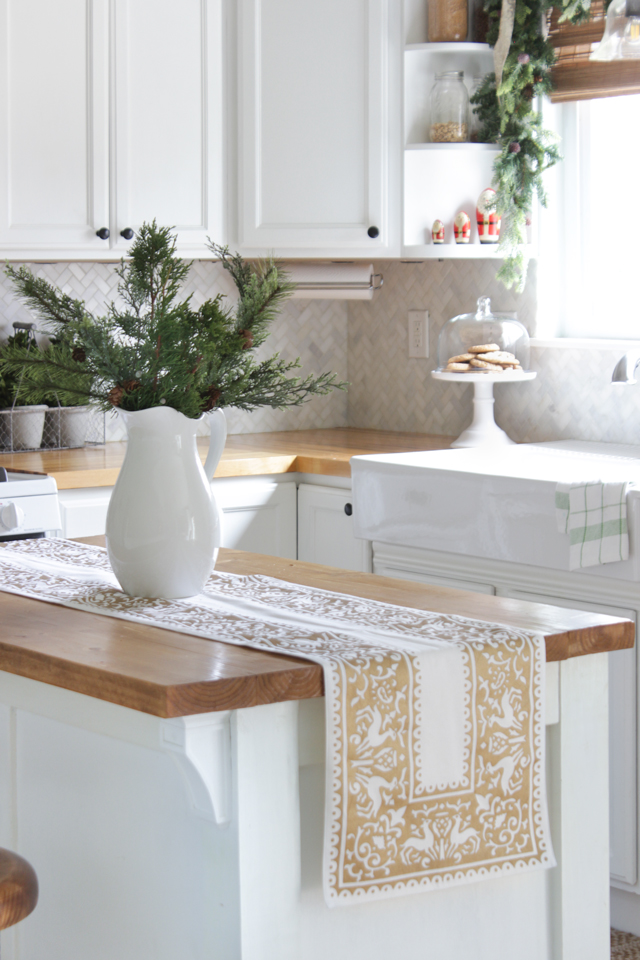
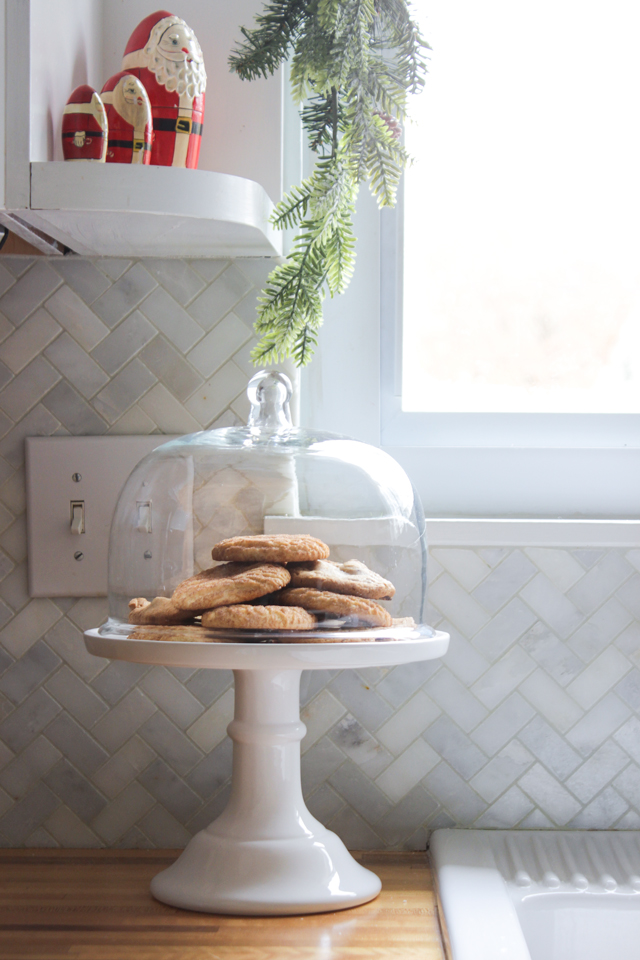
I added some nesting Santas I've had for several years to the shelves by the sink, a plate full of cookies…
… and a pretty faux garland draped over the window. I just combined two garlands from Michaels and used some sequin ribbon I had for the center bow.
A little something new I added to the kitchen is this hook plaque. It is so handy to hold my apron, towels and keys– not pictured.
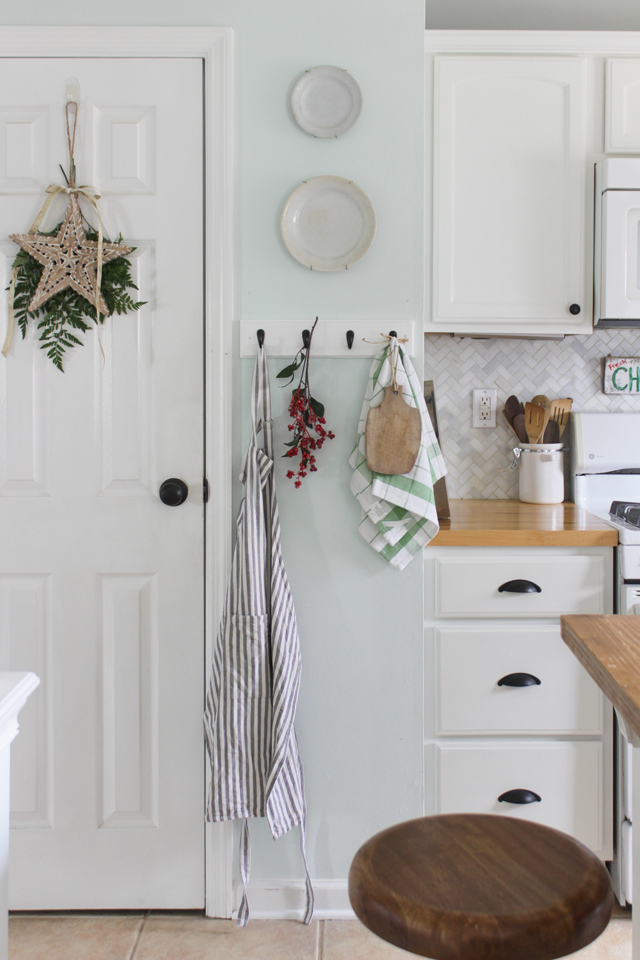
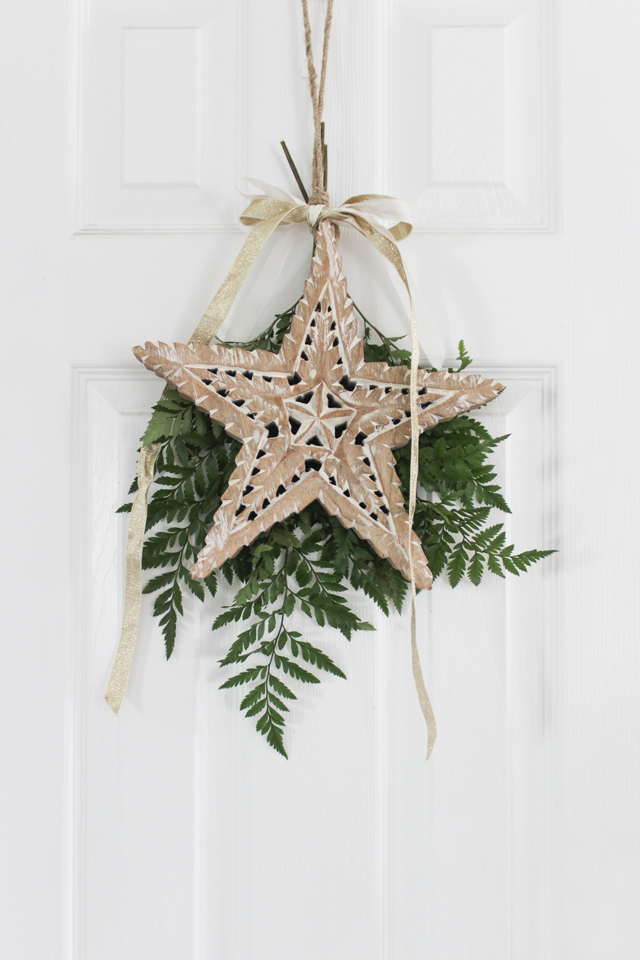
On our pantry door I hung this wooden star I got at HomeGoods with some leather leaf behind it. Super simple.
This is our simple farmhouse kitchen.
Next up is our living room.
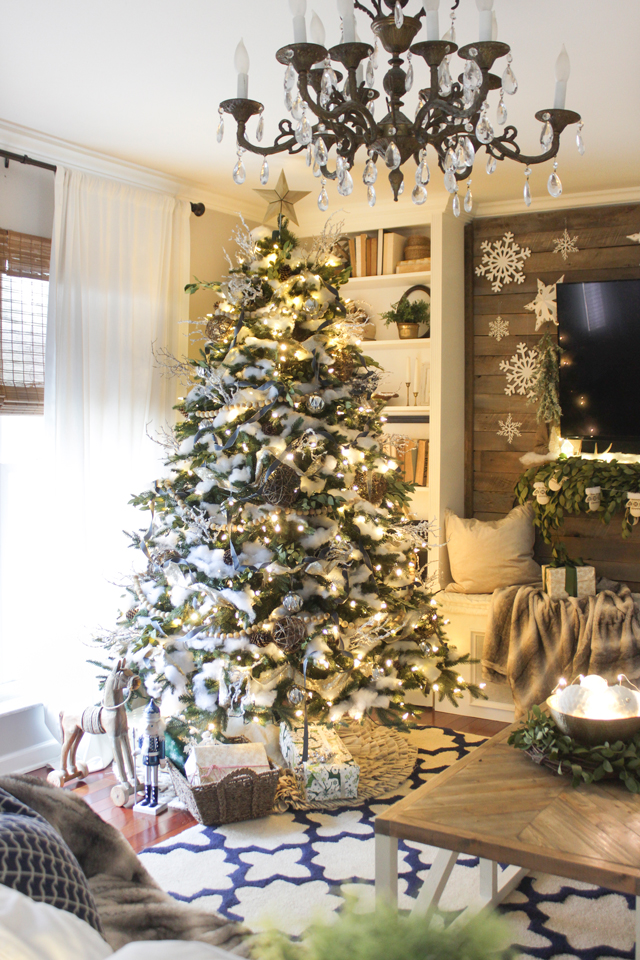
I shared a bit of this room and a closer look at the tree a couple weeks ago in my Christmas tree post. We've always bought a fresh tree, but this is the first year going artificial and I have to say– I love it! Tree is the 7.5′ Monterey Fir from Home Depot.
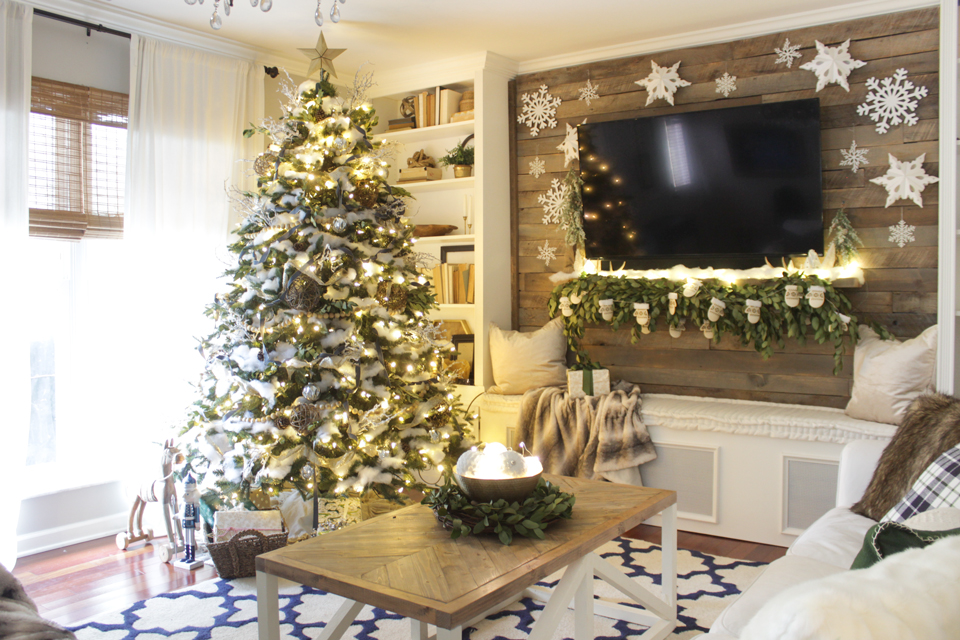
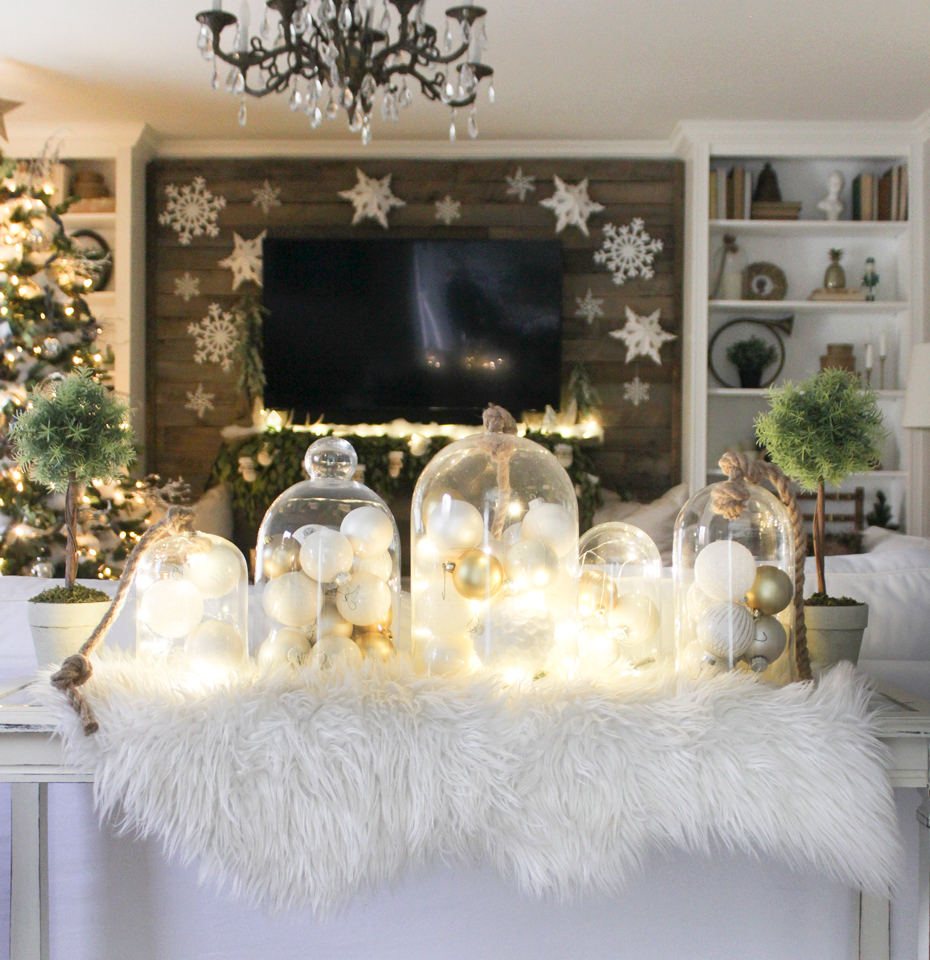
I decided to go with a woodland winter wonderland sort of theme in here and with all the twinkly lights I have everywhere it still feels just a cheery and festive as it did last year when I used more red.
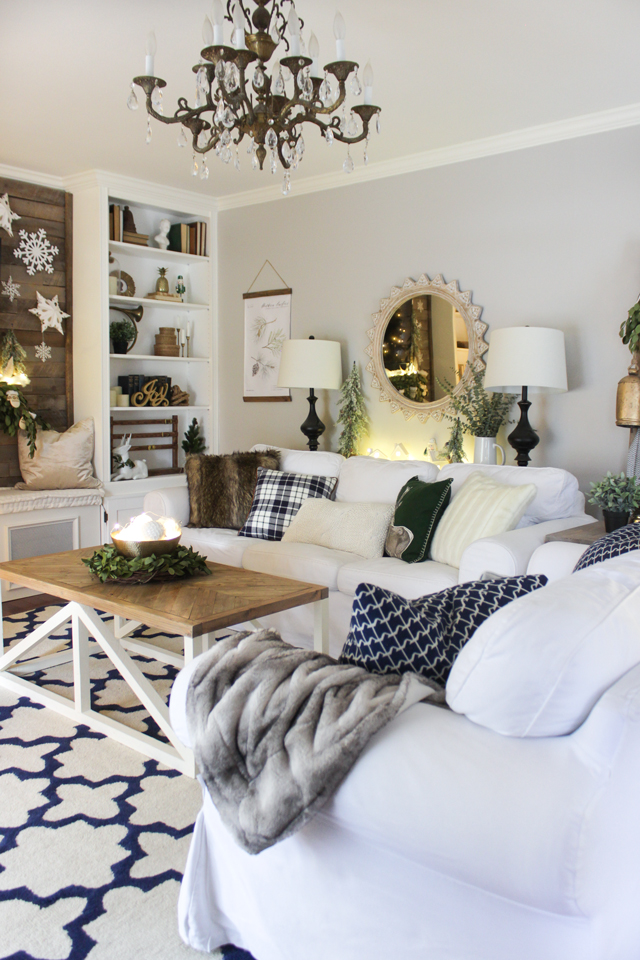
Christmas coffee table decor can be as simple as a bowl of ornaments and rice lights!

I love having all kinds of cozy throws and pillows in here. It makes it easy on those chilly nights when you want to cuddle up and watch a movie.

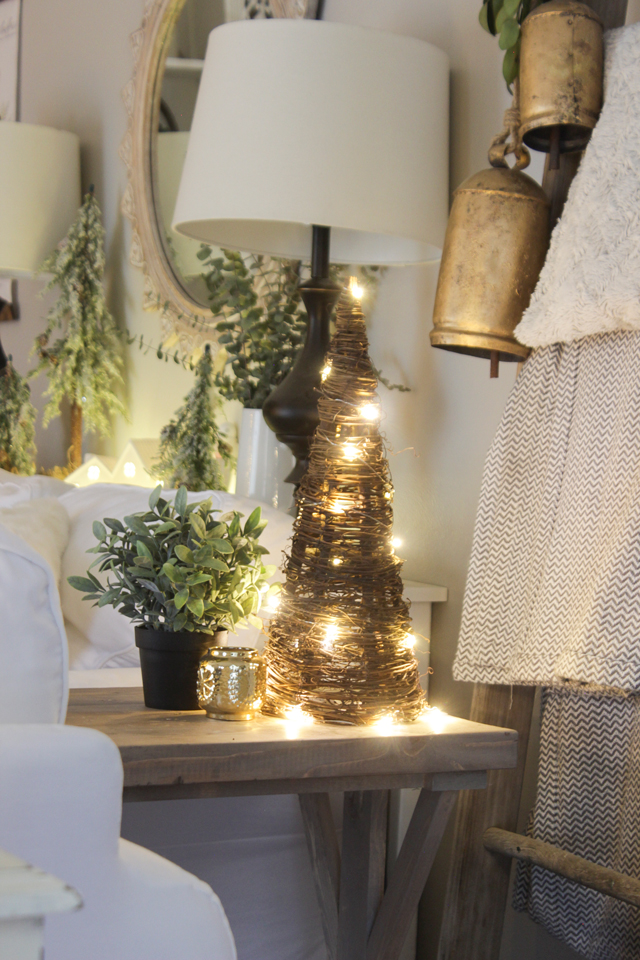
I adorned a vintage ladder I'm using to hang extra throws with a couple of bells and bay leaves.
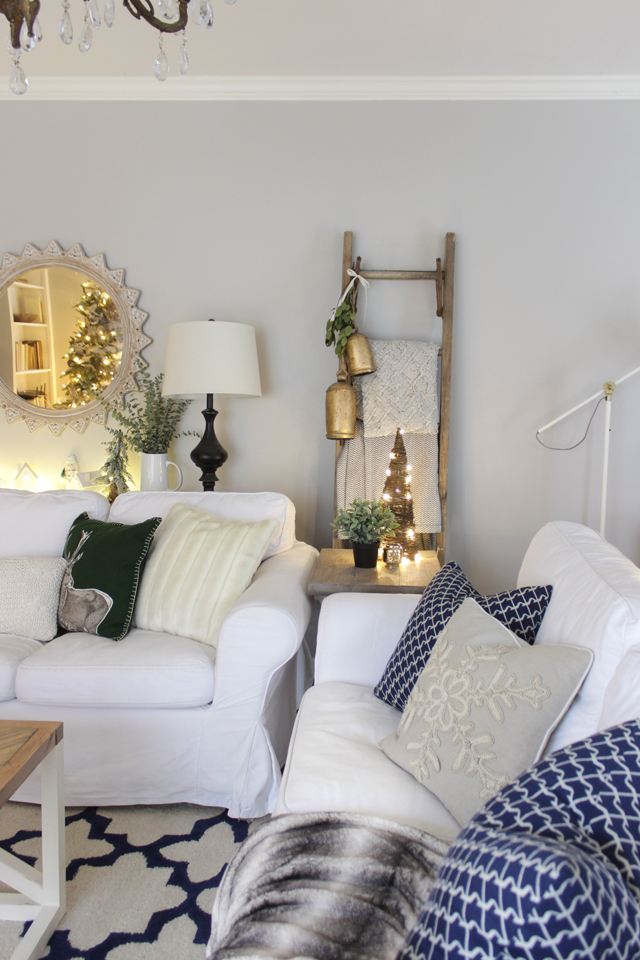
I started collecting this mini rice lights (or twinkle lights) for a couple years now and so I have enough to put in several locations around the room. The only things is– I have to remember to turn them off before I go to bed or I run through batteries like crazy.
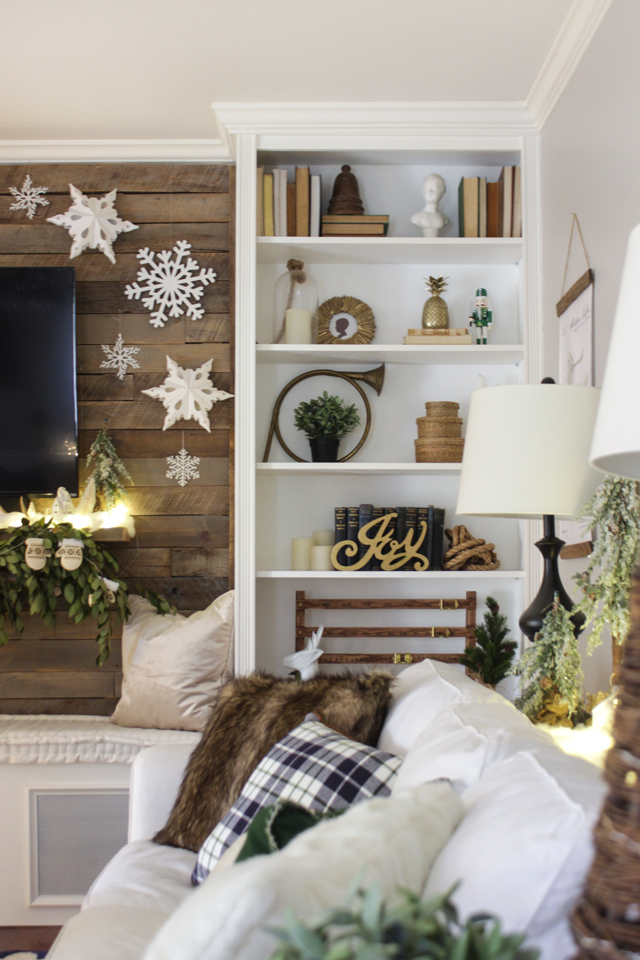
Since I was going with the winter wonderland theme, I put some paper 3d snowflakes from Target last year, along with some wooden cutout ones from Joann, and some small plastic ornament ones all along my wood pallet wall. We were watching Elf a few days ago and when I got to the scene where Buddy creates a paper-snowflake explosion in the apartment, my husband started laughing and teasing me that I got my inspiration from Buddy the Elf. ha! No I didn't but now I can't get it out of my head! Oh well– I still love it.

All the pillows are either from Target or HomeGoods.
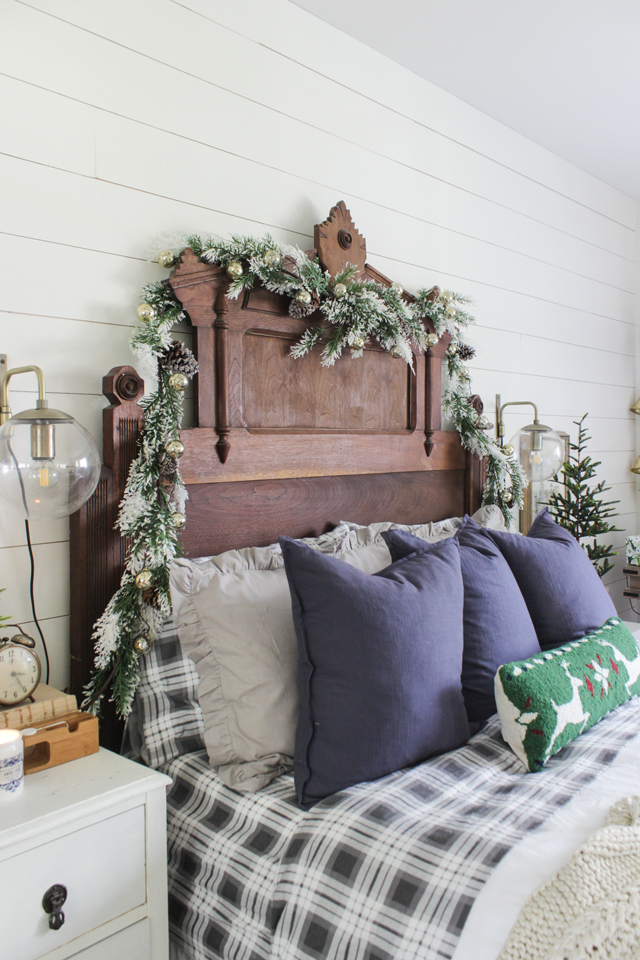
Last but not least, is my master bedroom. I shared this room last month but there were a few shots I didn't share, so I wanted to include them in this tour in case you missed that post.
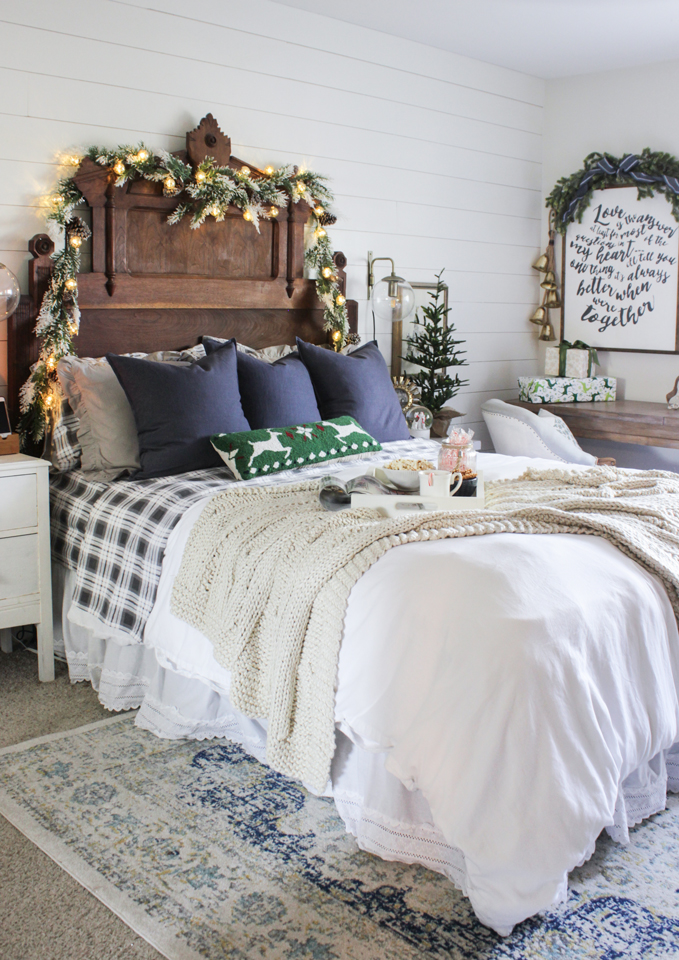
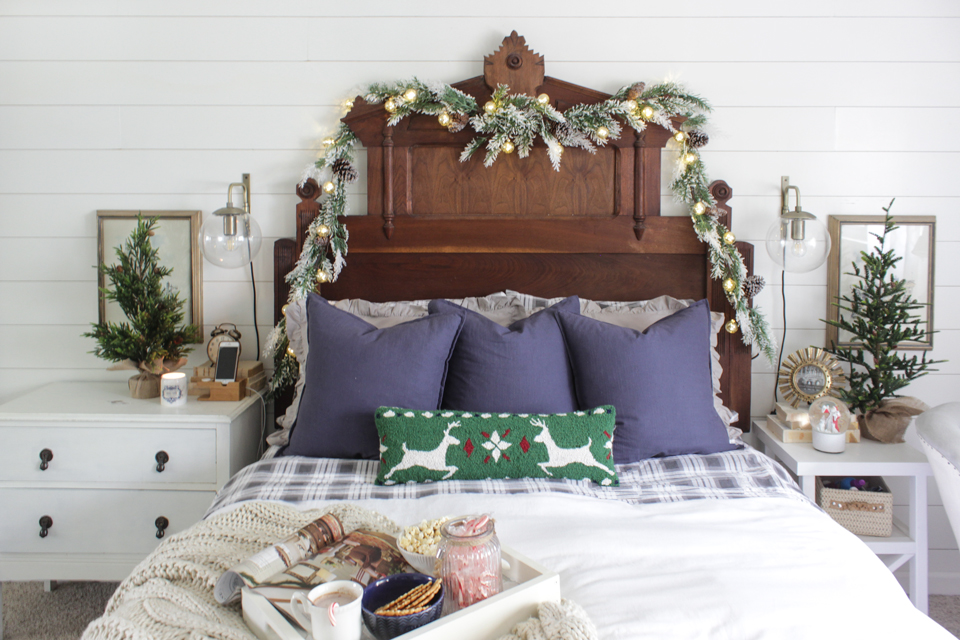
There isn't much to say about this room, other than we love it. It is cozy, pretty, and perfect for what we need.
GOLD STAR FOR YOU FOR MAKING IT TO THE END! 😀
Thank you SO much for visiting and make sure to check out the next stop in the Housewalk, sweet Brooke from Nesting with Grace. Click the image below to be directed to her tour!

williamswrinke1952.blogspot.com
Source: https://www.shadesofblueinteriors.com/a-holiday-home-tour-2016/
0 Response to "Holiday Home Tour London Ontario 2016"
Post a Comment